Adding Collection Location Images to AWM-Manage
Posted at August 15, 2019 05:08 pm. Last updated at August 16, 2019 03:08 pm

Adding Collection Location Images to AWM-Manage
In an effort to ensure accurate bin collection locations are agreed upon with customers and understood by customers and drivers, we introduced capturing and adding a "Satellite Image" and "Street View Image" to customer emails and the AWM-Manage page, (which also enables the driver to view these images in the driver APP), when customers first sign up for a new service.
This allows us to highlight the exact location that the customer is to place their bin/s to achieve a successful collection, and the exact location the driver is to attend to ensure there are no erroneous "Bin Not Out" reports.
We also follow this procedure for all existing customers who have an issue with a collection, whether the driver went to the wrong location or the customer states their bin was out and the driver says it wasn’t. This ensures both the customer and the driver acknowledge the correct location of the bin/s for collection and avoids ongoing collection issues.
To capture and add "Satellite Image" and "Street View Image" to a customers account in AWM-Manage:
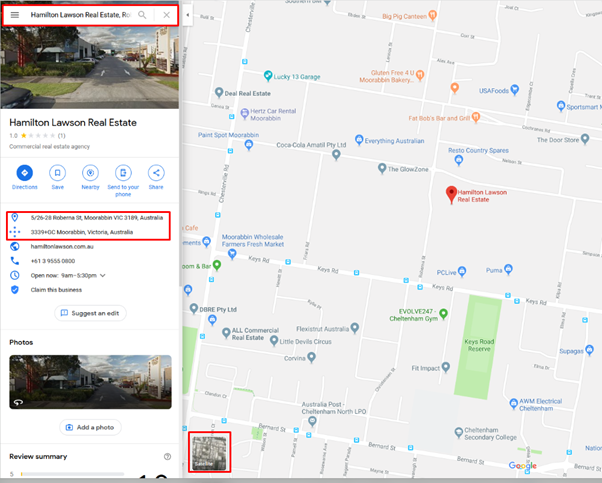
Open Google Maps in an Internet Browser window.
Type in the customer’s address and press enter.
Confirm the Name and/or Address that comes up is correct.
Select Satellite View.
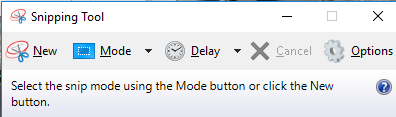
Using Snipping Tool
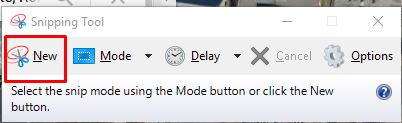
Click New
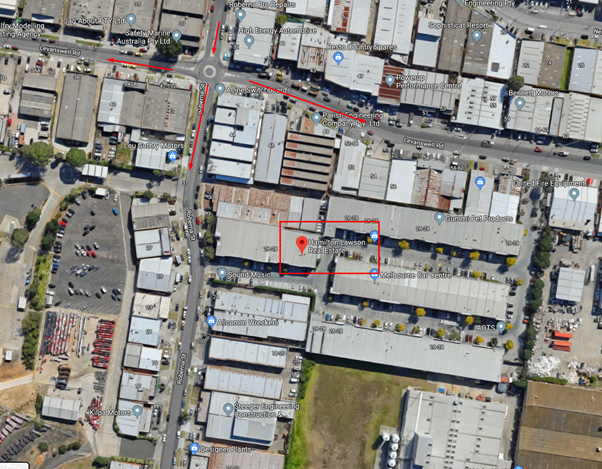
Highlight the "Satellite Image" of the customer’s location pin showing their name or address, ensuring to include the nearest intersection, the nearest cross road, the road that the customer's site is on, and the entire complex. All of these landmarks would need to be captured in the image so the drivers has reference points to verify they are in the correct location if there is any doubt.
Click on the drop down arrow beside the pen icon and select "Custom Pen", then "Customize" and choose Colour "RED" and Thickness "Thick point pen" and Tip "Chisel tip pen".
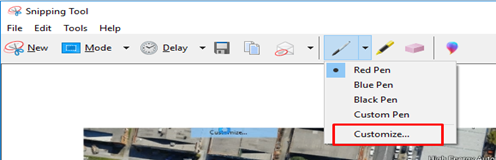
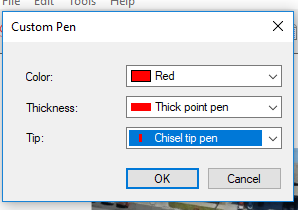
Circle the most obvious (or previously agreed upon) bin collection location.
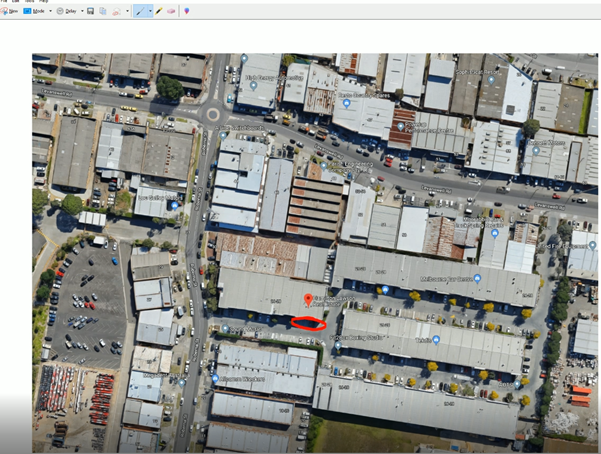
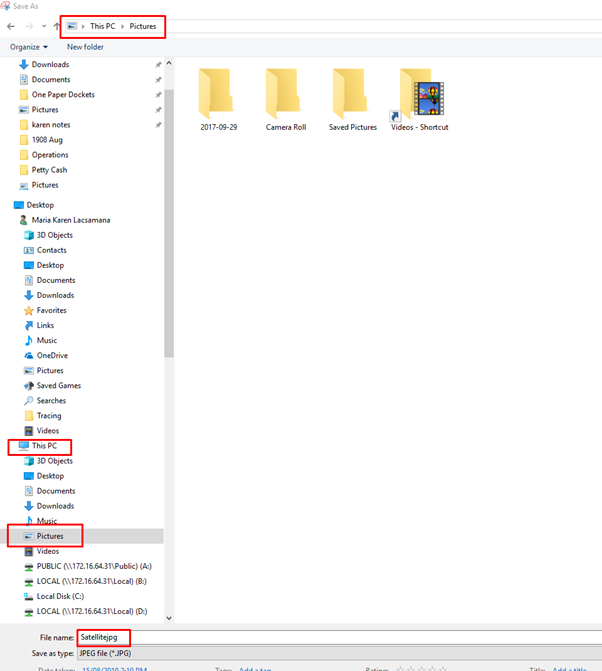
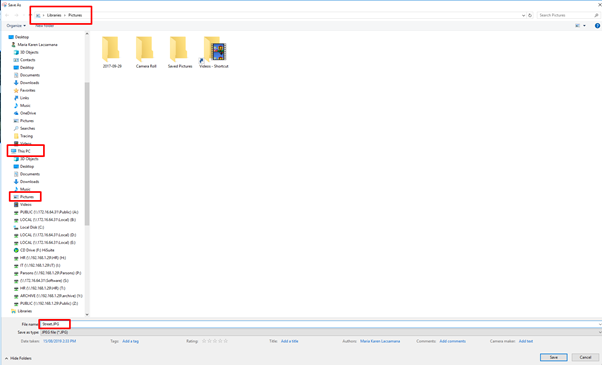
Go to "File", "Save As", then select "This PC", "Pictures" and save the image as "Satellite.JPG". This way, each time you save a new one it will save over the last one rather than fill you PC with saved images.
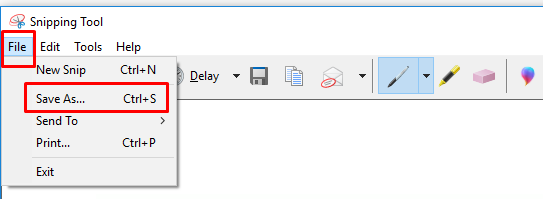
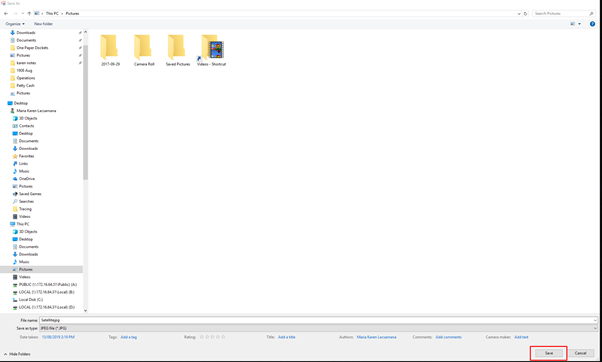
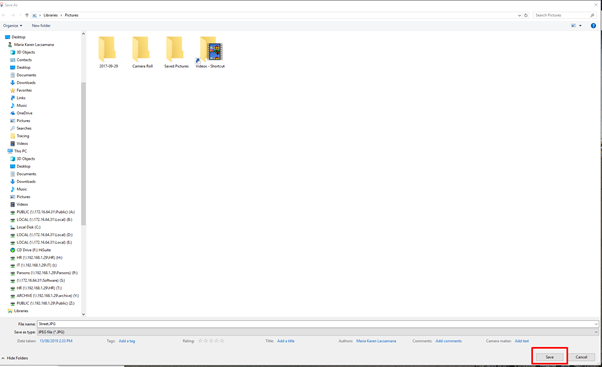
Click Save
Close the Snipping Tool
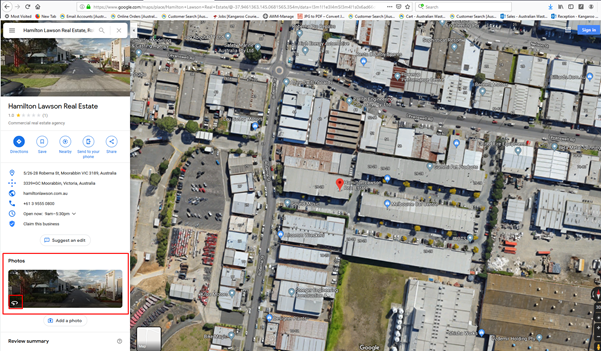
From Google Maps, Click the Street View under "Photos".
In street view, locate the customer’s house/building by moving the image left or right.
Ensure you can see all the information about the location, like street name and number, company name/sign, and the most obvious (or previously agreed upon) bin collection location, ensuring it is the same location as circled in the Satellite Image.
Using the snipping tool, highlight the image and using the Thick Red Chisel Tip Pen, circle the most obvious (or previously agreed upon) bin collection location, ensuring it is the same location as circled in the Satellite Image.
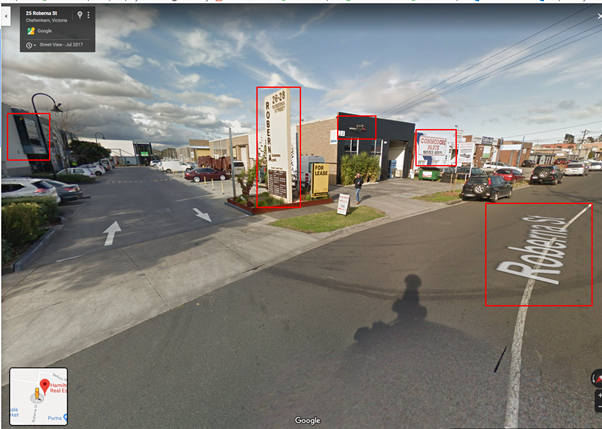
Save the image in the same "Pictures" directory, however name it "Street.JPG"
Click Save
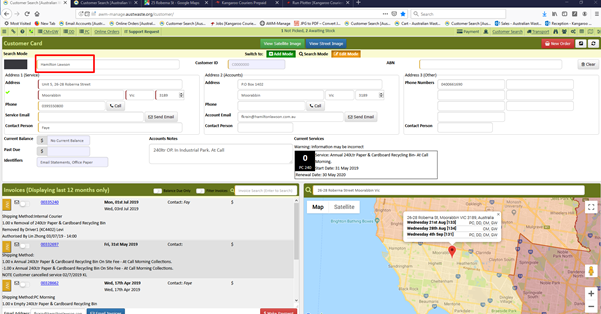
To upload the "Satellite Image" to the customer’s account, go to the "AWM-Manage" page and search for the customer’s account. Double check that you have the correct company.
Click "Edit Mode"
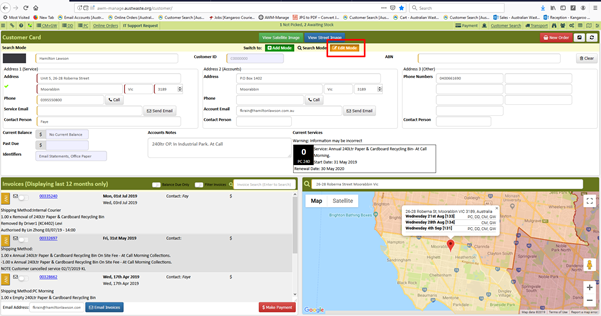
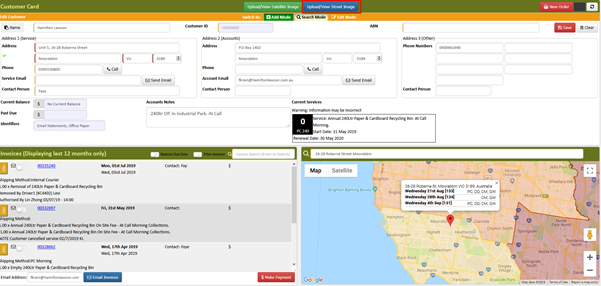
Click "Upload/View Satellite Image"
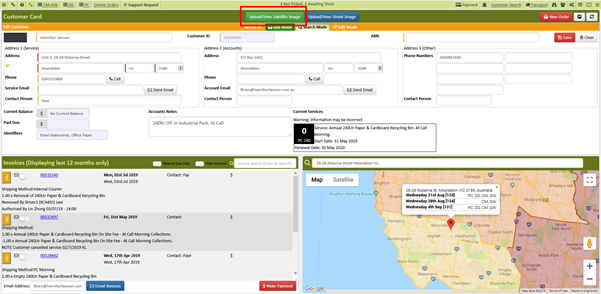
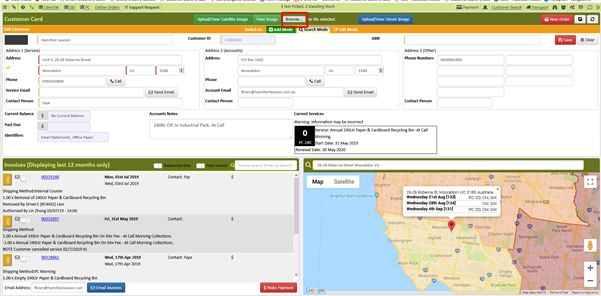
Click "Browse" (take note of the “No File Selected”)
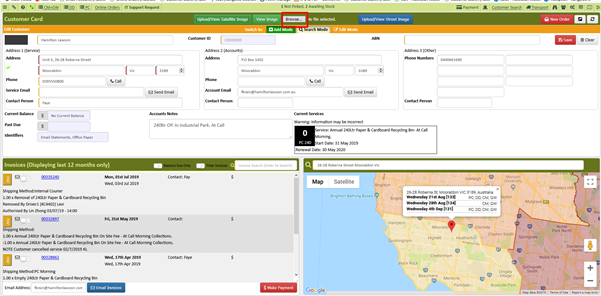
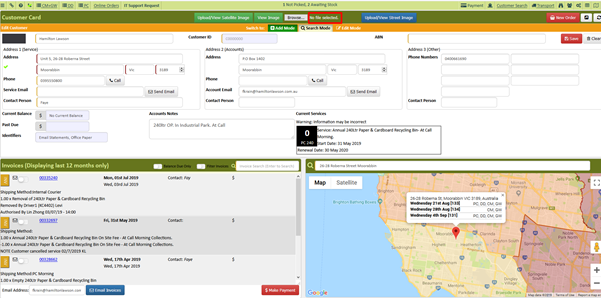
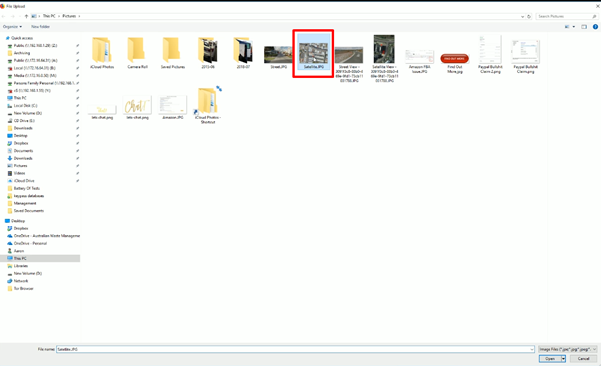
Click "Satellite.JPG" and then click "Open"
Ensure the “No File Selected” changes to "Satellite.JPG"
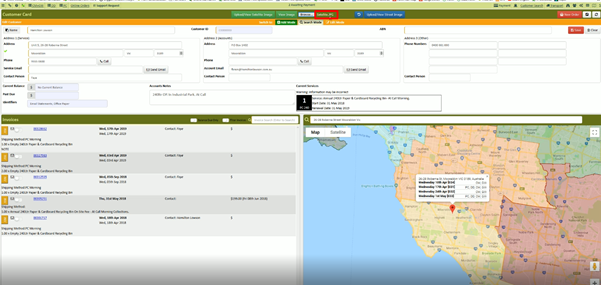
Click "Save"
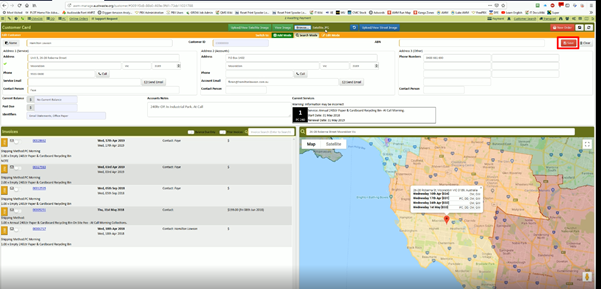
Click "View Satellite Image" to ensure the image was uploaded successfully
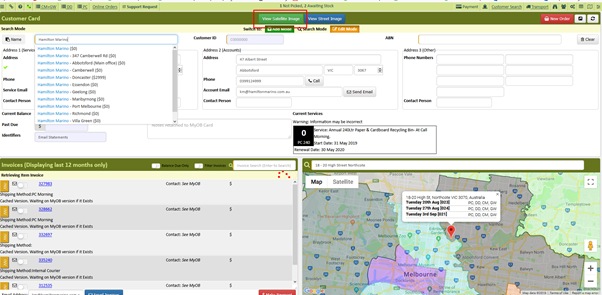
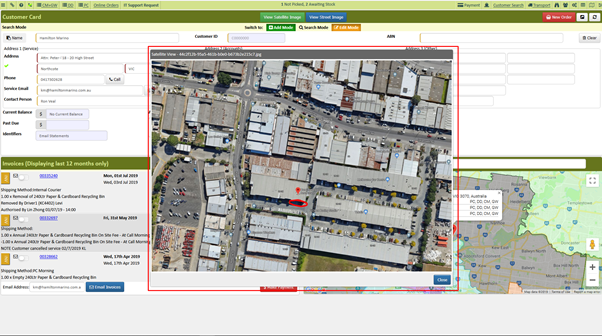
To upload the "Street View image" on the "AWM-Manage" page, Click "Edit Mode"
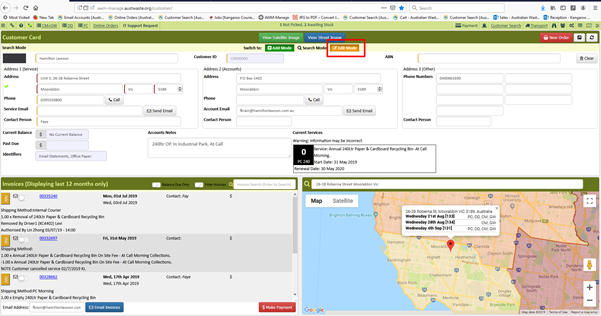
Click "Upload/View Street Image"
Click "Browse" (take note of the “No File Selected”)
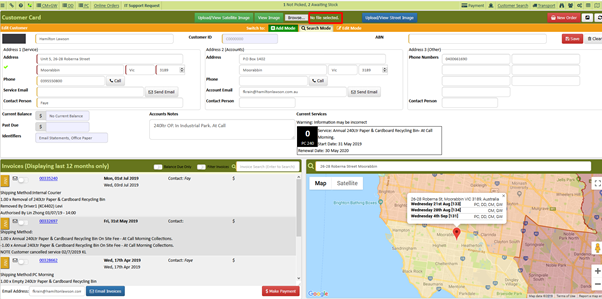
Click "Street.JPG" and then click "Open"
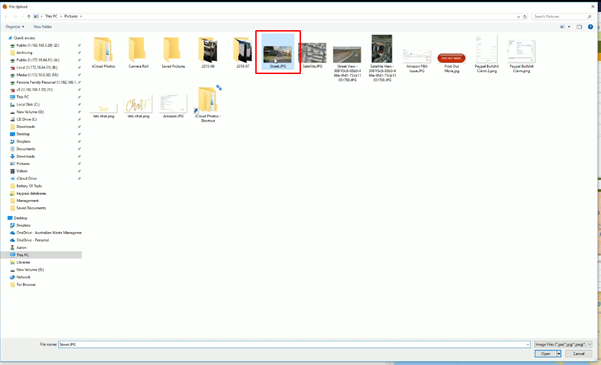
Ensure the “No File Selected” changes to "Street.JPG"
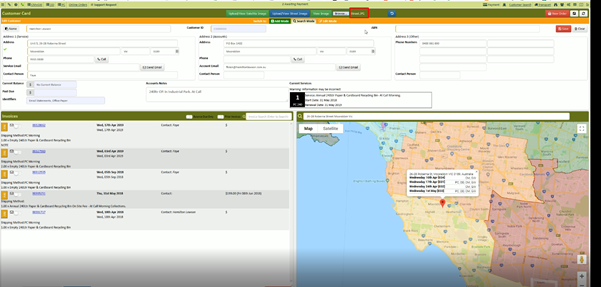
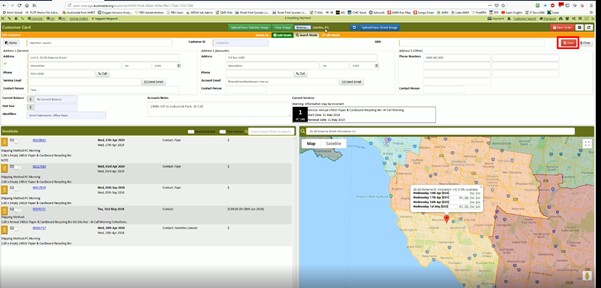
Click "Save"
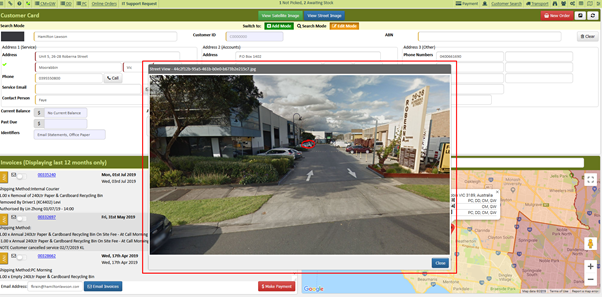
Click "View Street Image" to ensure the image was uploaded successfully
Comments